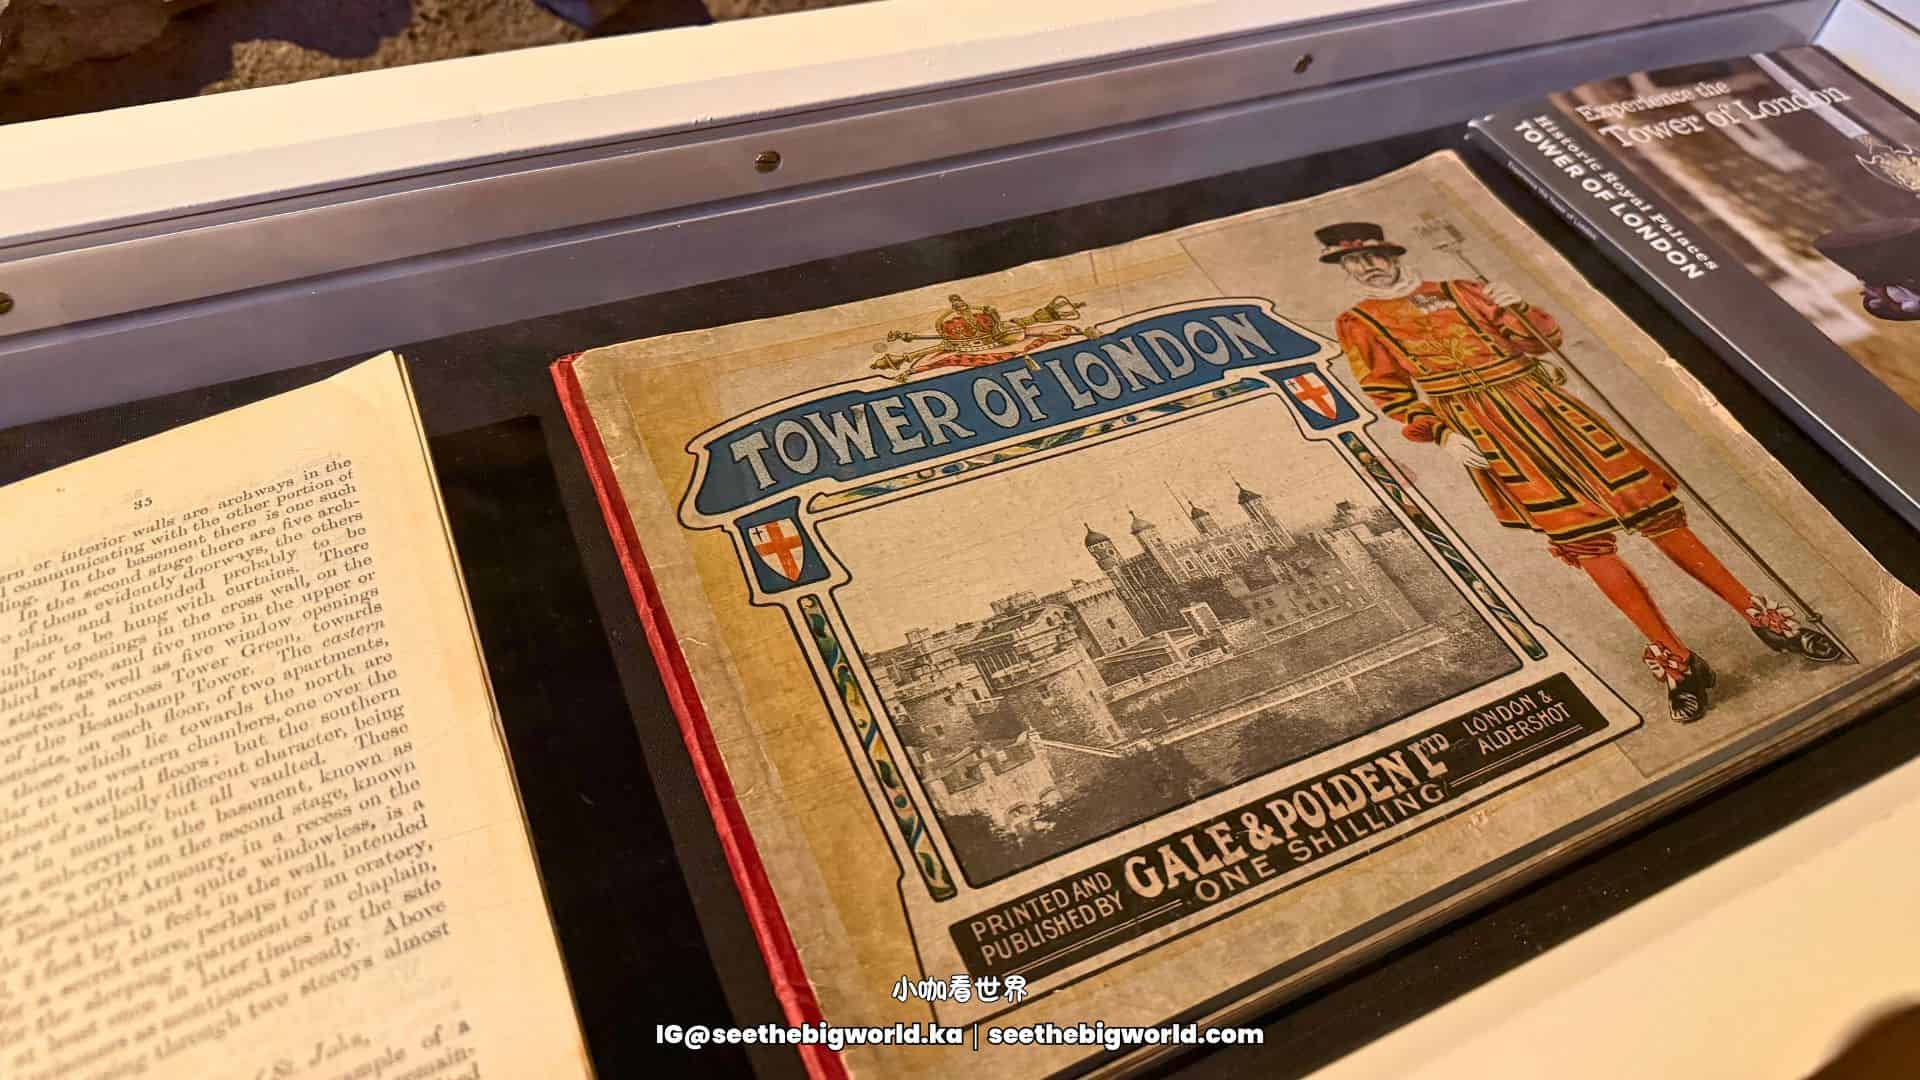
The Tower of London isn’t a romantic castle. It’s a hard, physical summary of how Britain built power through force. This complex compresses military defence, political imprisonment, public execution, and state symbolism into one system designed to keep royal authority looking legitimate. This guide breaks it down through ticket decisions, a practical route, and the deeper historical context, so it’s not just “seeing a sight”, but actually understanding what this place did in British history.
Tower of London Basics
- How to Get There:Tower Hill station (District / Circle lines), short walk
- Opening Hours:
- Summer (Mar–Oct): roughly 09:00–17:30; Winter (Nov–Feb): roughly 09:00–16:30
- Note: Sundays and Mondays often open later (around 10:00); last entry is 1 hour before closing
- Check the Official Website for live updates
- How Long to Spent:around 3 hours
- Tickets:Check latest prices & booking options
- Standard ticket includes: White Tower, the Crown Jewels, all open towers/buildings, and the free Yeoman Warder (Beefeater) talk on-site (English only).
- Multimedia guide: not included; hire on-site for an extra fee (multi language available).
- London Pass Free Entry
Single tickets or London Pass?
Single tickets vs a pass comes down to how many paid attractions you’ll do across your trip—and whether you can use either All-Inclusive (by days) or Explorer (by number of attractions) to “buy back” the cost. The Tower is a high-ticket site; add one or two more attractions in the same price tier, and a pass often becomes very good value.
Read More:London Pass |All-Inclusive vs Explorer
When the London Pass makes sense
- Your list includes several high-ticket attractions (e.g., Tower of London / Westminster Abbey / St Paul’s / London Eye / The Shard), and you want to bundle them
- If you’ll do a lot in a short time: choose All-Inclusive (by days)
- If you prefer spreading sights across several days and taking half a day per attraction: choose Explorer (by number of attractions)
When buying individual tickets is better
-
Your entire London trip only includes 1–2 paid attractions, and most time goes to free museums, parks, markets, and neighbourhood wandering, then single tickets are usually the straight forward choice
Read More:London Attractions|Best Things to Do for First-Timers|Tickets + Opening Hours
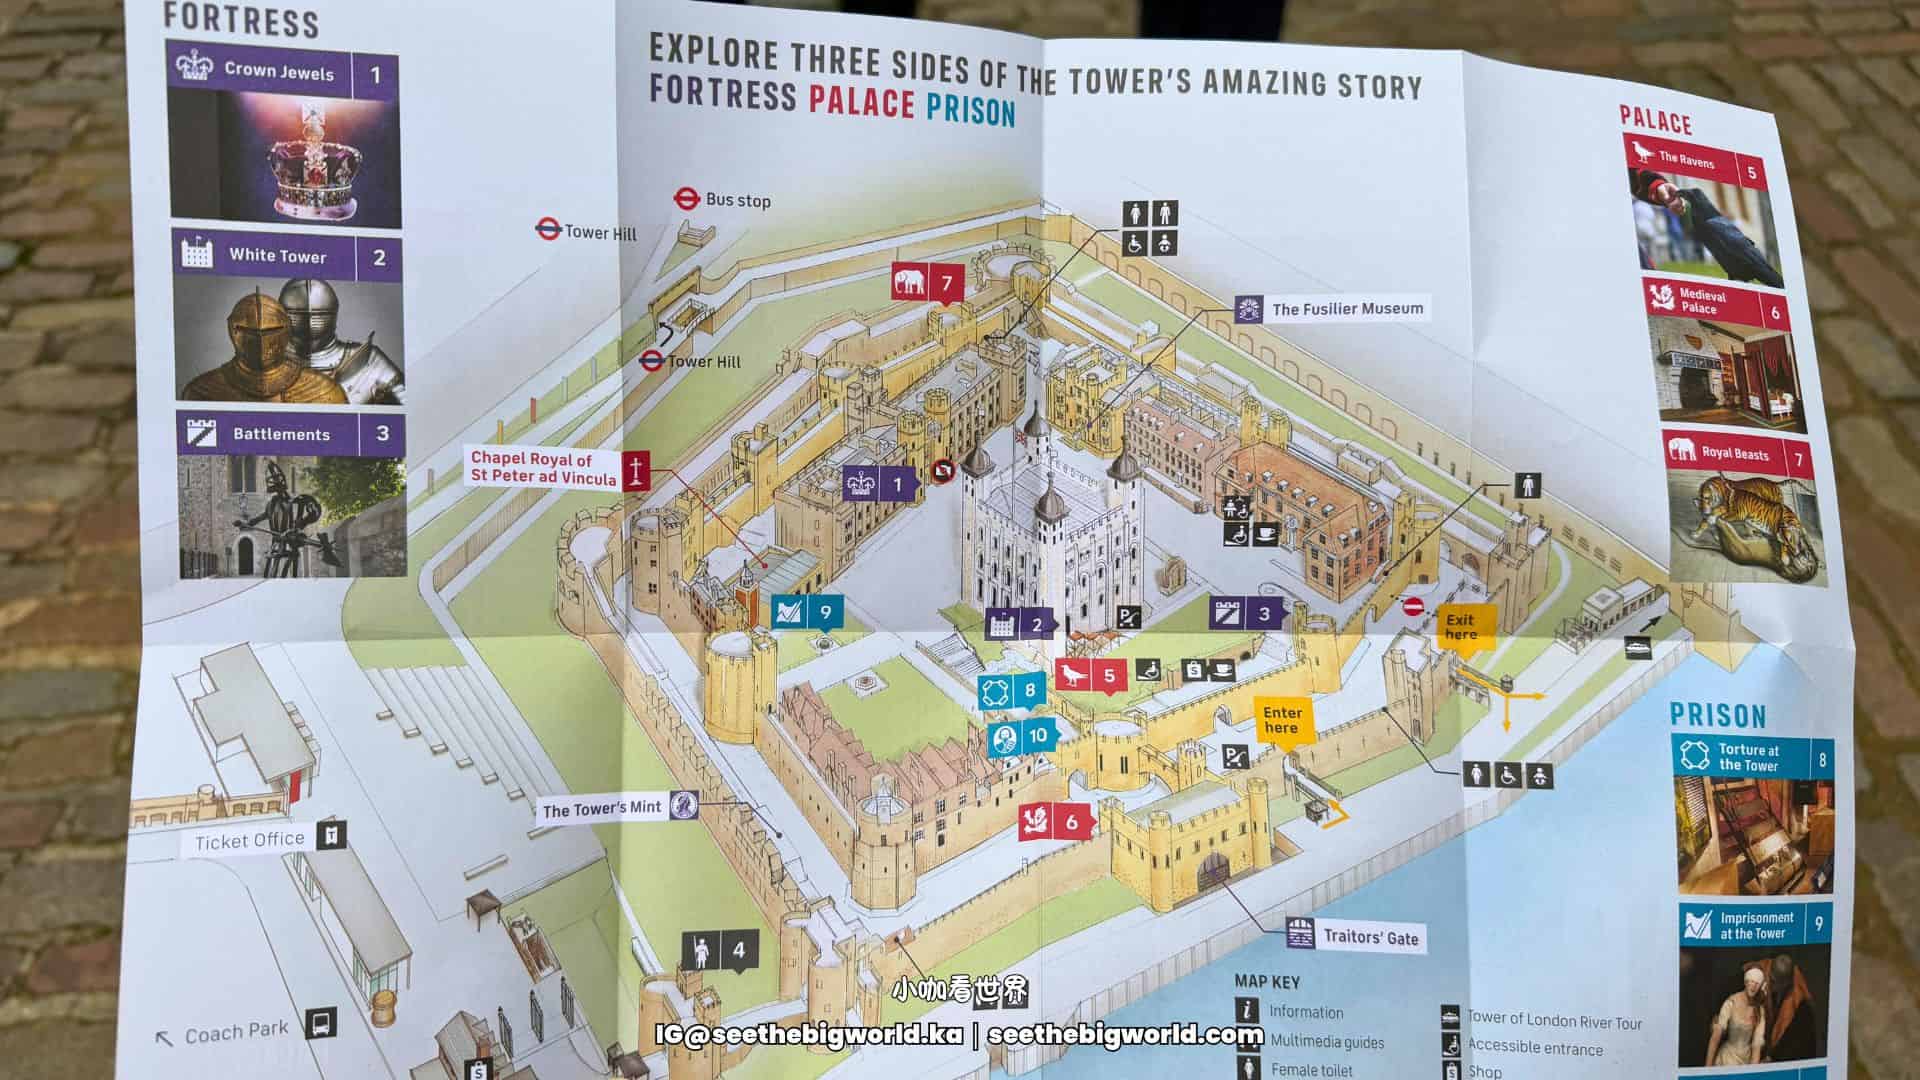
Route Highlights: 5 Must-See Stops
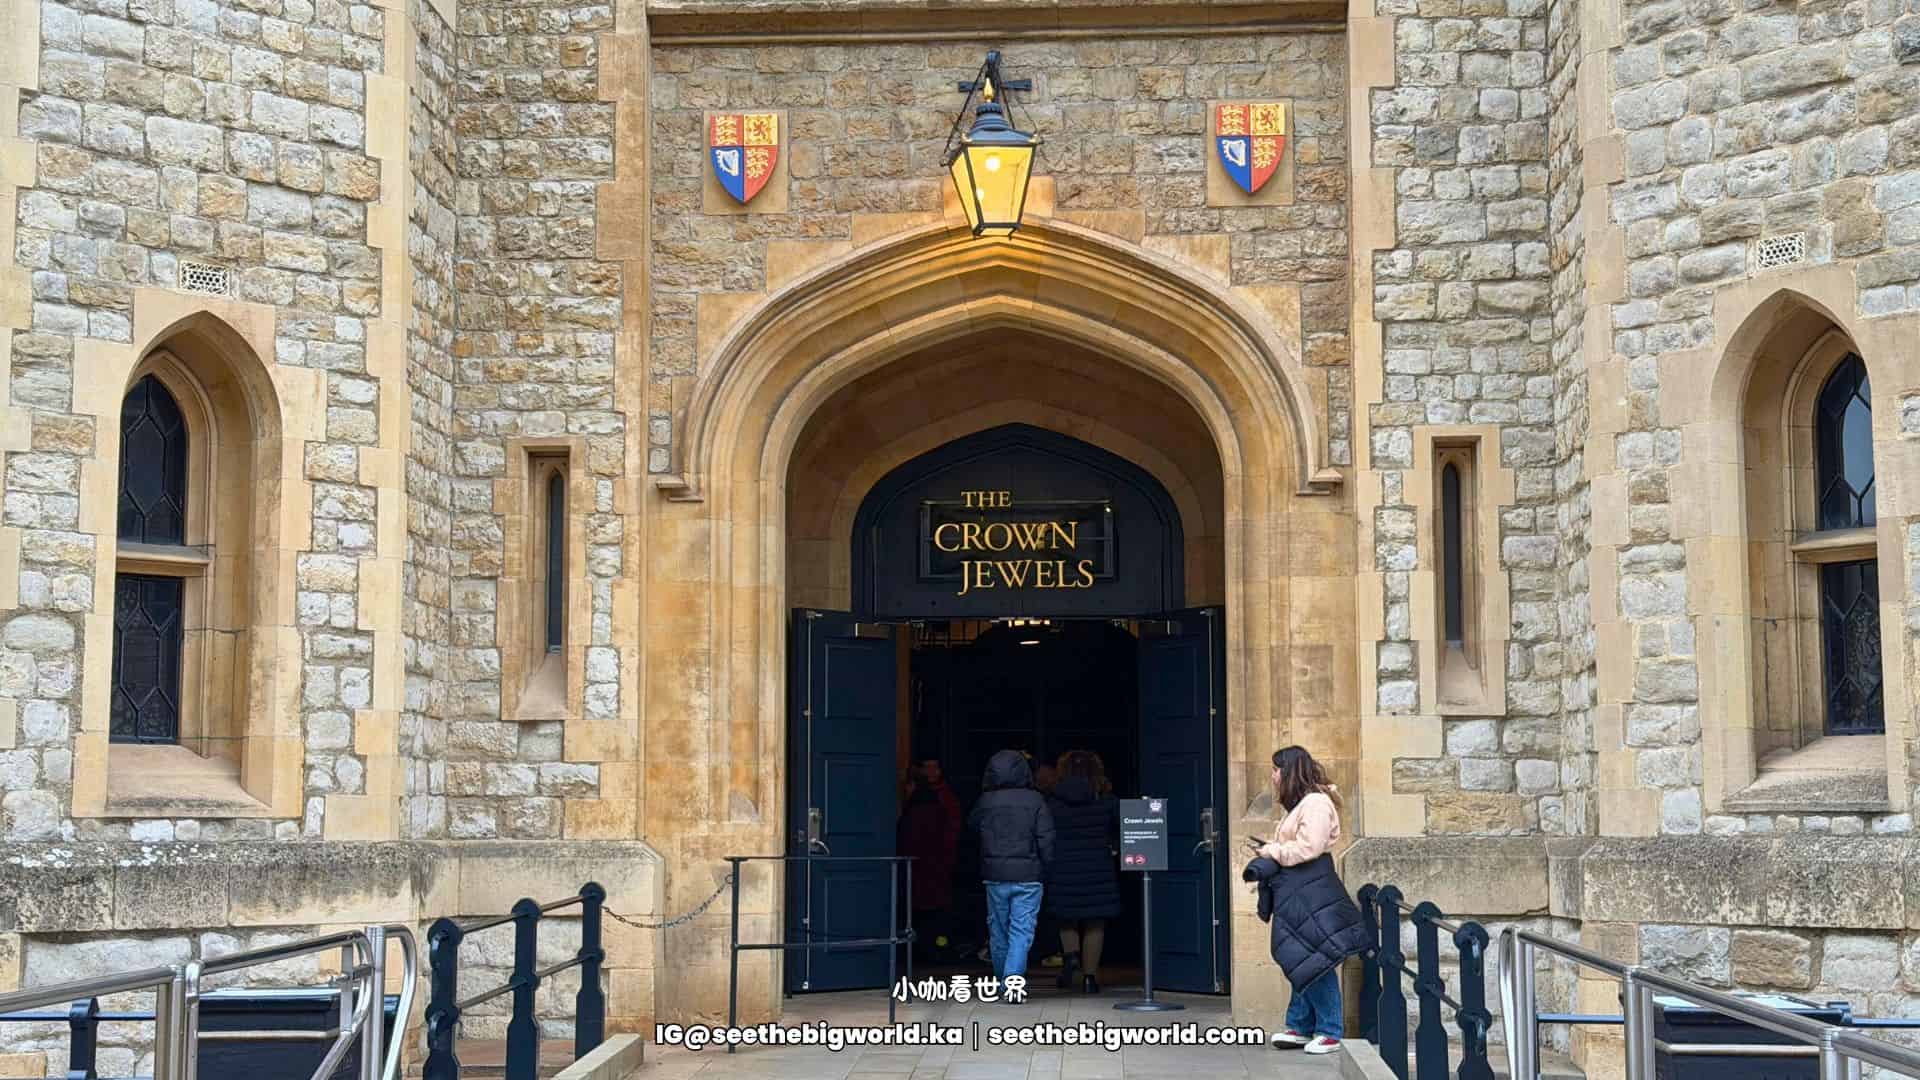
Highlight 1: The Crown Jewels
This is the Tower’s most in-demand section, and the main reason many people come. The point isn’t just that it’s shiny, it’s that you’re watching monarchy turn power into objects you can see and ritualise: sceptres, crowns, ceremonial gold and silver, symbolic pieces designed to make authority feel real.
No photos are allowed in the Jewel House, but it’s genuinely jaw-dropping in person. Pictures can’t capture the density or the workmanship. The goldwork, silverwork, and settings are far more intense than most people expect.
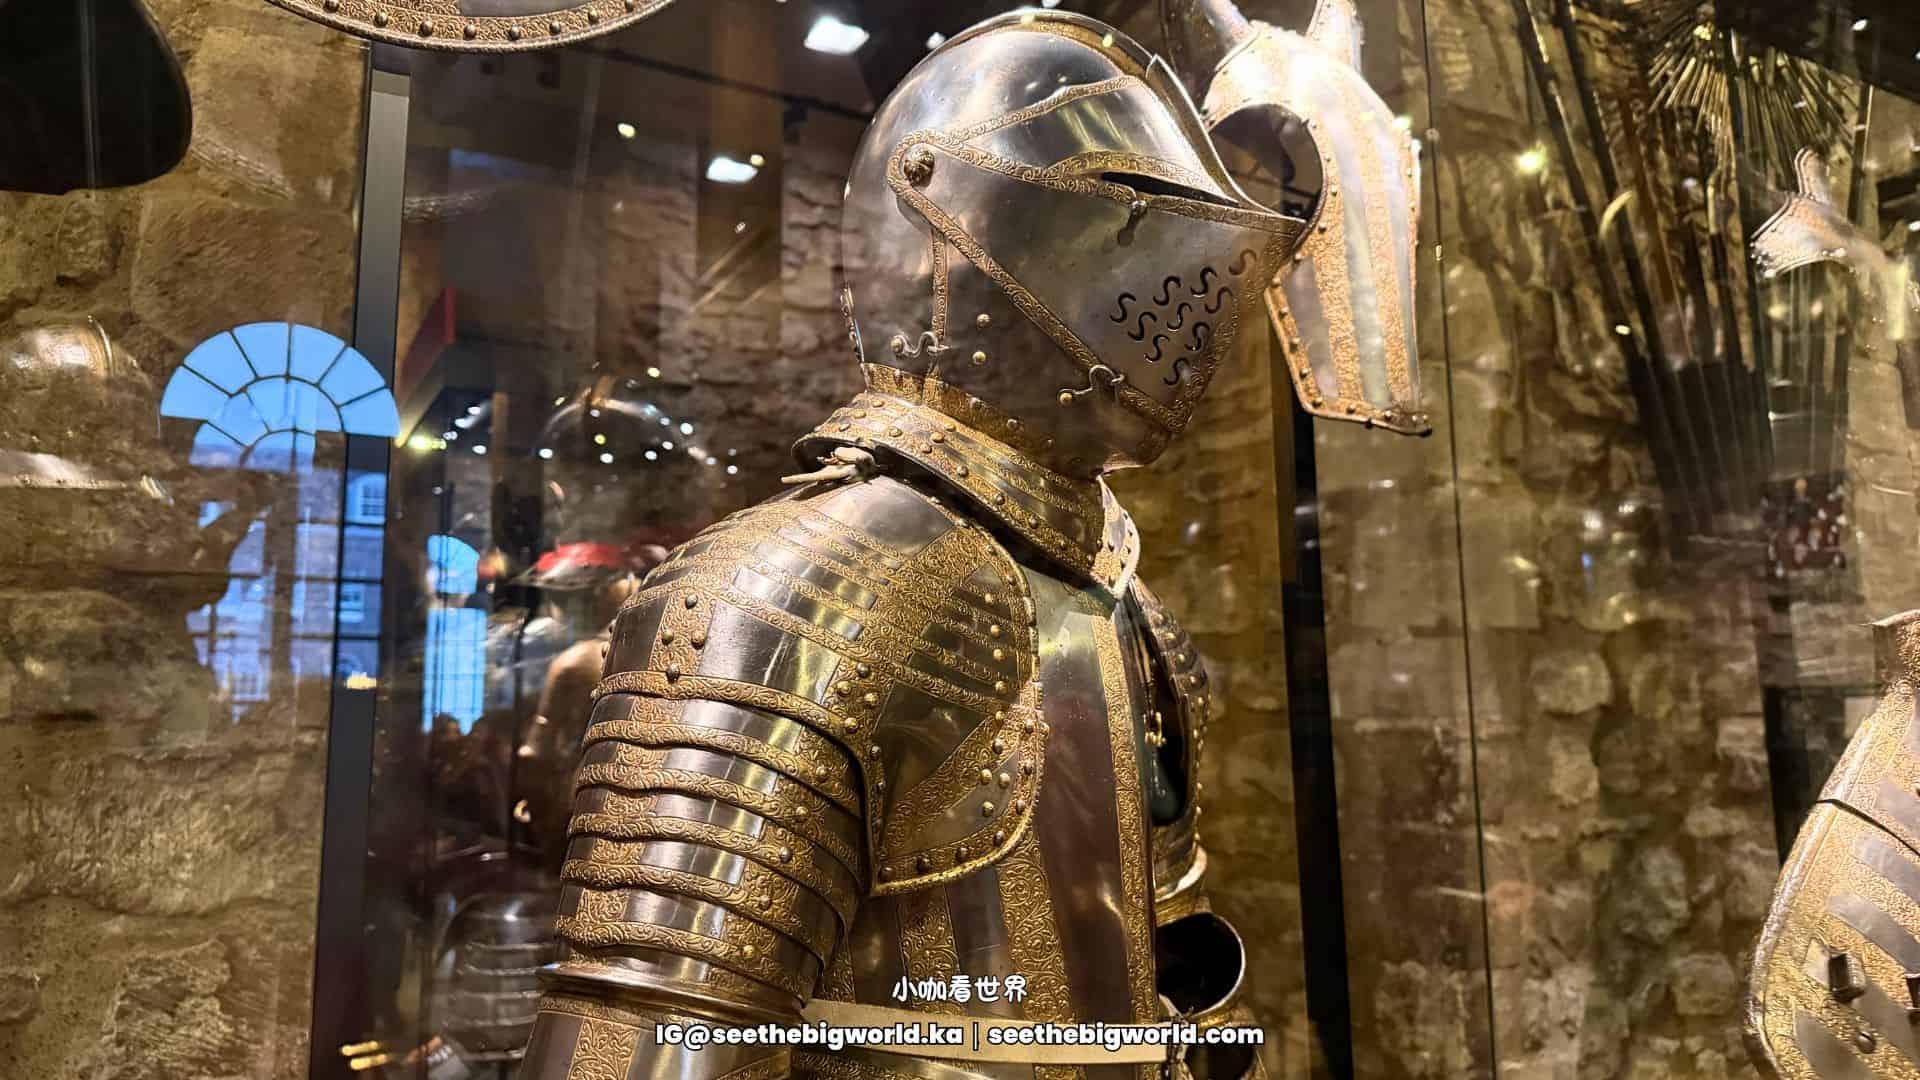
Highlight 2: The White Tower & the Royal Armouries
The White Tower is the point: don’t treat it as scenery on the way to the jewels. This section lets you understand two foundations of monarchy in the same space: the “sacred” layer (jewels and ceremony) and the force behind it (armour, weapons, defensive architecture).
If someone in the group is into weapons, military history, or armour, this is where time quietly disappears.
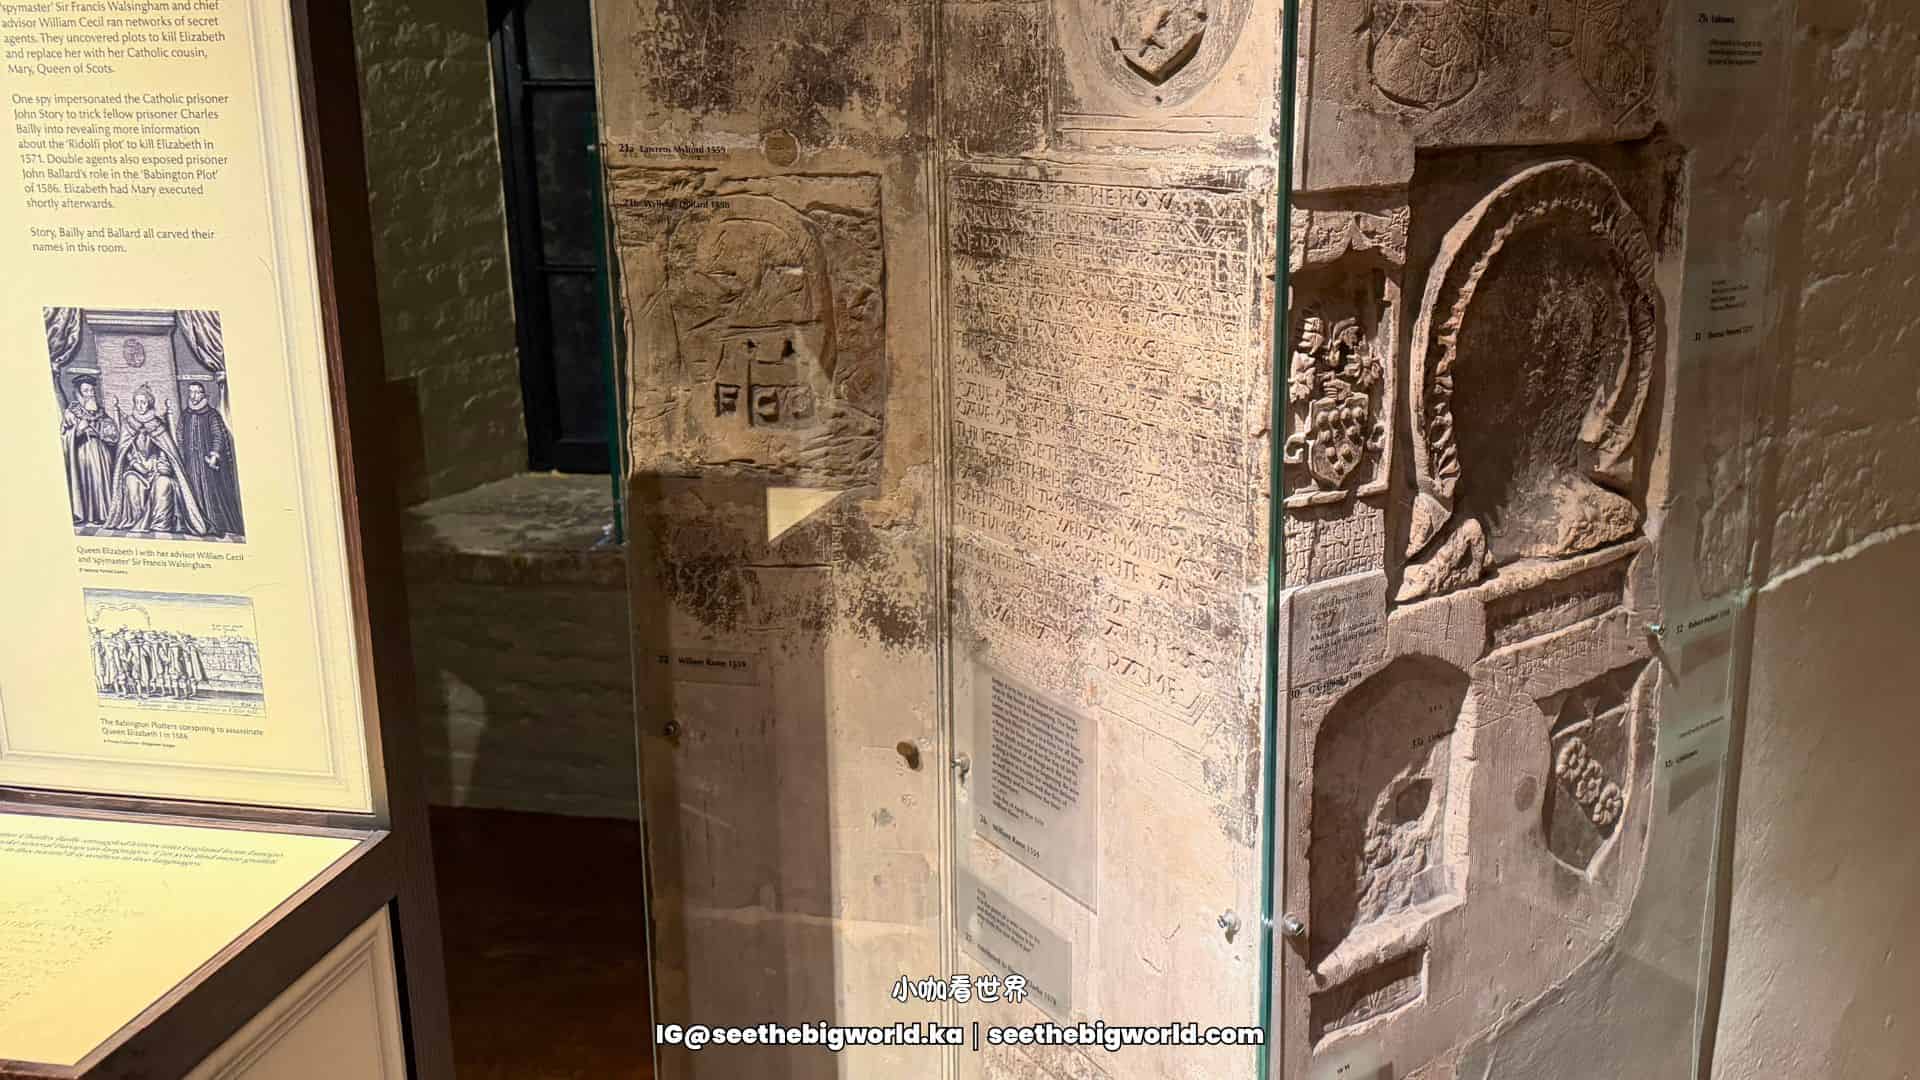
Highlight 3: Prisoners and carved graffiti (especially the Beauchamp Tower)
This is the Tower at its heaviest. The carvings on the walls of the Beauchamp Tower aren’t decoration—they’re traces left by people who’d lost political protection, waiting for trial or execution.
Those inscriptions bring history uncomfortably close, and they’re a quiet reminder of why I live in the UK now. At the very least, in Britain today, large-scale persecution centred on political dissent is far less common than it was in the past, and far less common than in some parts of the world.
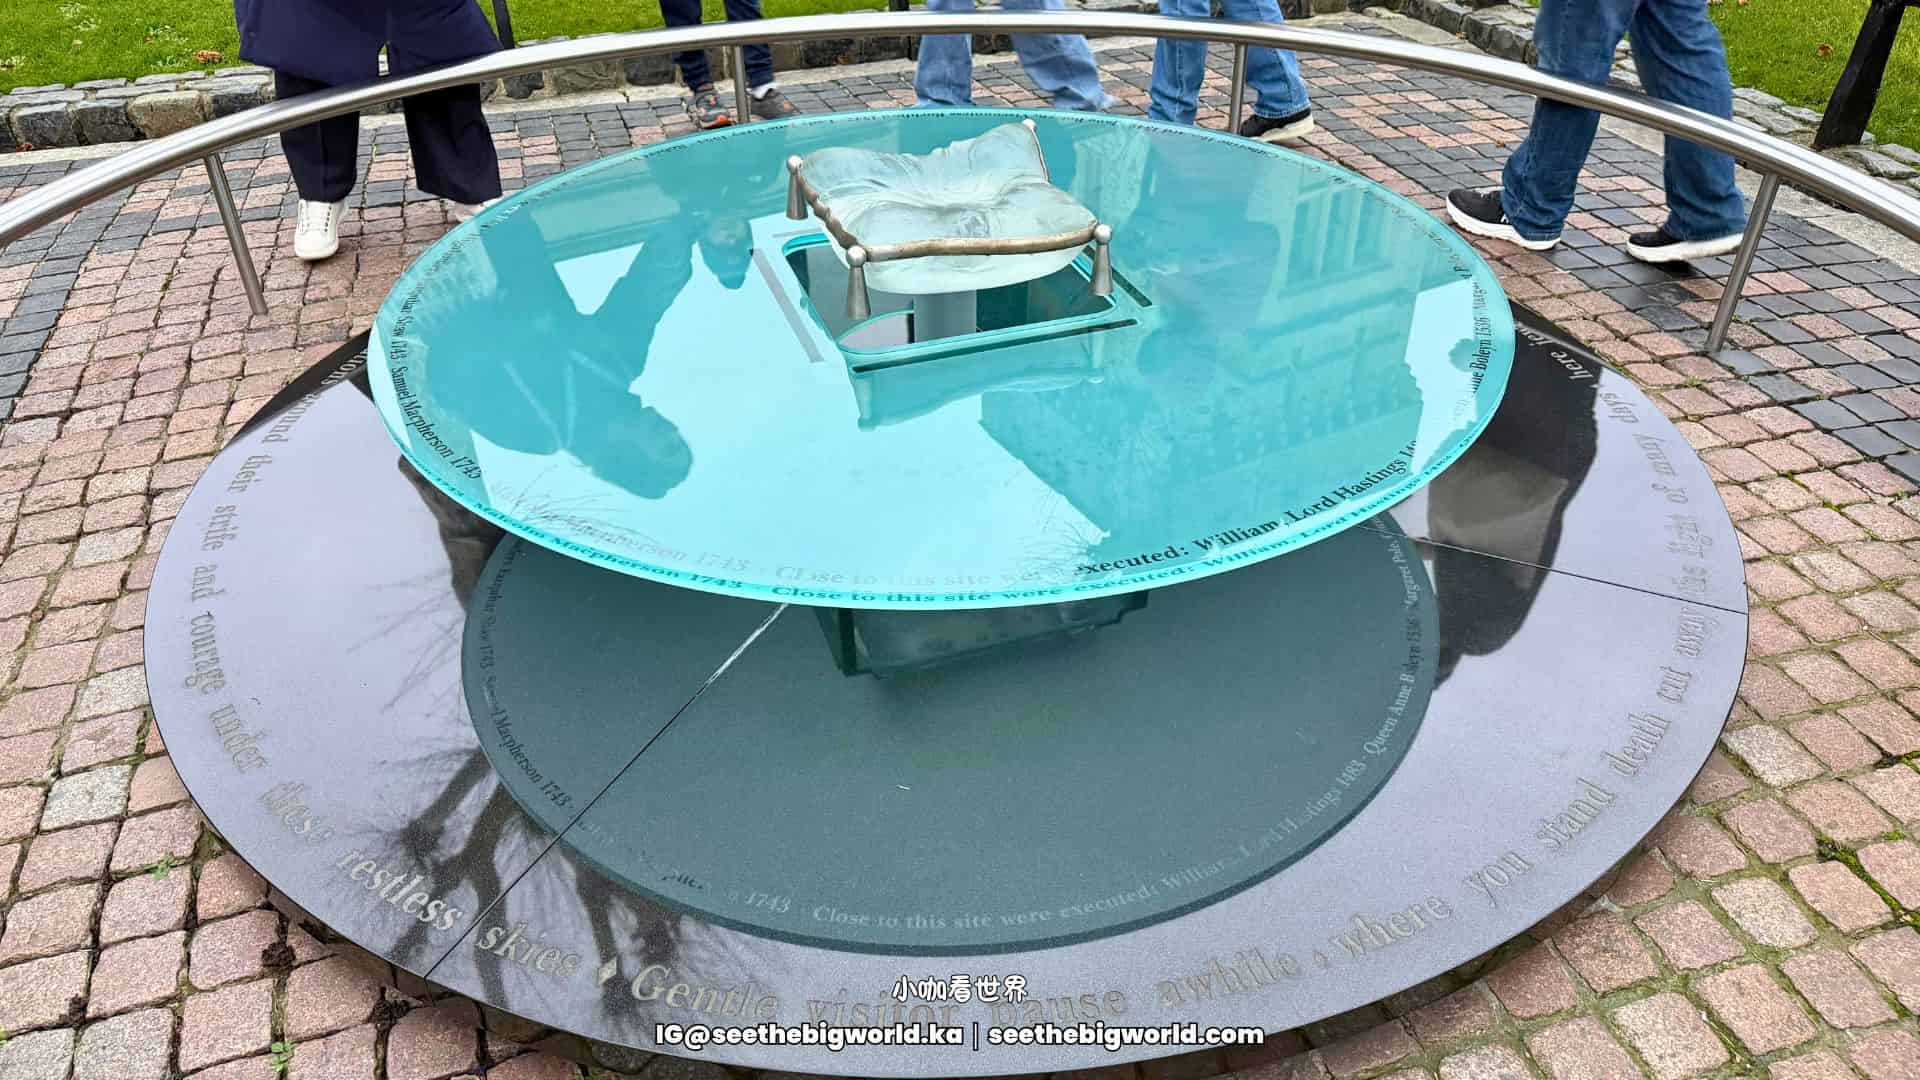
Highlight 4: The execution site (Tower Green)
On the grass at Tower Green, near the White Tower, sits a minimalist circular glass memorial (Tower Green Memorial) by artist Brian Catling. It carries the names of ten high-status people executed here. Compared with the mass public spectacle outside the Tower, Tower Green represents a more private ending: one shaped by politics, rank, and a controlled kind of “mercy”.
- Tudor risk: Anne Boleyn and Catherine Howard
- Both queens are named on the memorial. Their deaths mark how extreme political risk became under the Tudors.
- Anne Boleyn’s execution wasn’t only about succession; it was also the price paid for royal power to push religious and institutional change.
- Their stories make one point brutally clear: in 16th-century England, the closer you stood to power, the higher the cost of survival.
- The tragedy of the Nine Days’ Queen: Lady Jane Grey
- Her name appears on the ring as well.
- Jane Grey was essentially a sacrificed piece in a succession fight.
- Her execution shows the Tower at its coldest as a site of political clearance: for a new regime to feel absolutely stable, even a symbol that isn’t an active threat must be removed.
- Common confusion: inside (Tower Green) vs outside (Tower Hill)
- Most “ordinary” criminals and traitors were publicly executed at Tower Hill outside the walls, a place built for crowd spectacle and violence.
- Tower Green was for people of higher rank, when the Crown wanted the outcome handled inside a controlled perimeter.
- After seeing Tower Green, it’s worth walking to the Tower Hill site for comparison; the hierarchy of punishment becomes very obvious.
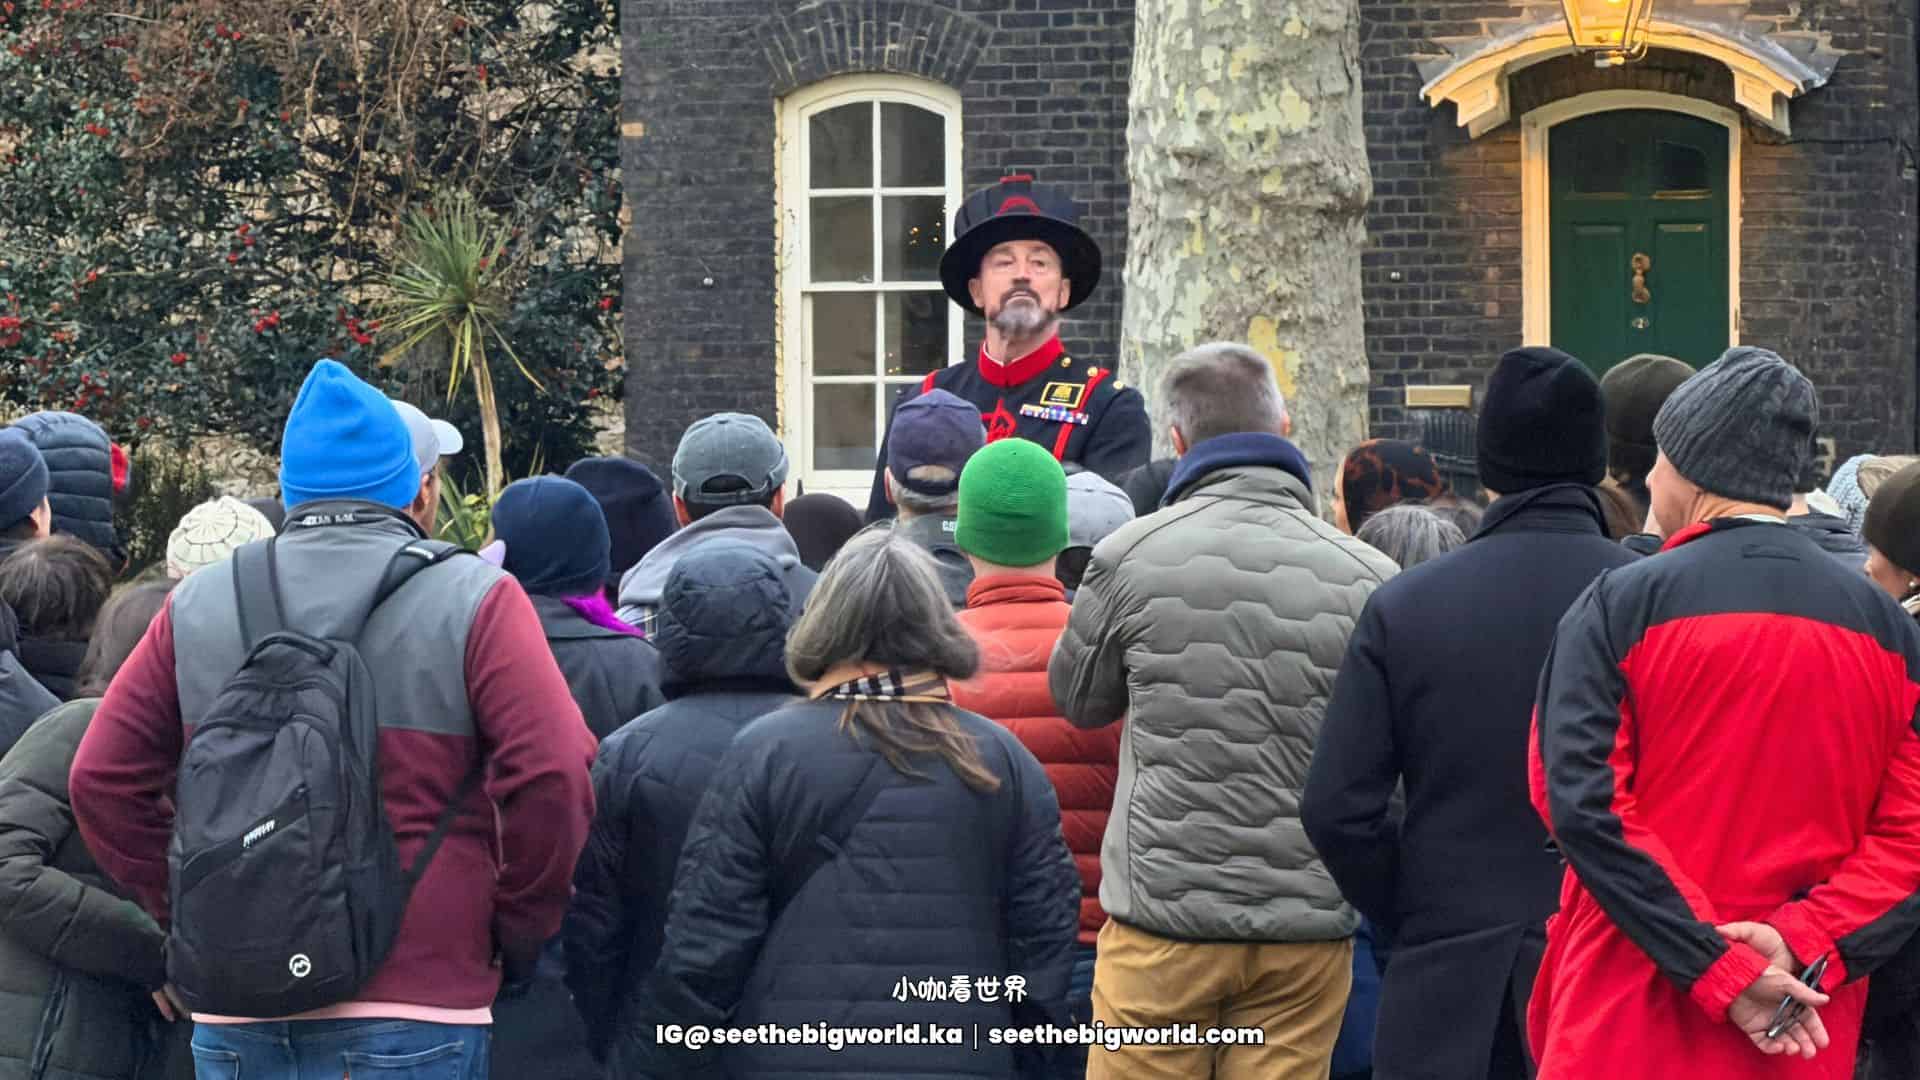
Highlight 5: The Yeoman Warder (Beefeater) tour
If it’s your first visit, the free Yeoman Warder tour (roughly every 30 minutes) is the Tower’s soul. The “Beefeaters” aren’t just guides; their presence is an extension of Britain’s institutional memory.
Why it’s worth doing: how the main plot gets stitched together
The Tower is architecturally messy, and first-timers can easily end up just staring at stone. The Warders’ value is narrative compression: they connect imprisonment, political intrigue, execution, and monarchy into one clear line. It’s less a tour than a living instruction manual for this “power machine”.
Yes, there’s a multimedia guide, but watching a Warder in Tudor uniform deliver the Bloody Tower stories on-site, with that particular mix of humour and gravity, is the core of the immersive effect. It’s history made oral, and it’s also the official voice defining what the Tower “means”.
- Best For:first-timers, anyone who wants a clean historical framework fast, and travellers with solid English listening (the accent and pace can be challenging).
- Skip if:you already know Tudor history inside out, you strongly dislike crowds, or you’re here purely for quiet photography.
Is the Tower of London worth it? Practical route and real-world decisions
As a former London resident, I didn’t properly go inside the Tower until a Christmas break after I’d moved to Liverpool. For years, I kept postponing it because of summer crowds and ticket cost. After doing it properly, there’s only one conclusion: this is a ticket that helps you see how the British Empire actually worked, and I genuinely regret not going in sooner.
- History-first travellers: the payoff is extremely high. Panels, the Yeoman Warder tour, and the carvings let you connect a long arc of power from the medieval period to the modern state.
- Checklist travellers: follow the “high-pressure zones first” route below. Lock in the Crown Jewels and the White Tower early, then decide whether to continue or bail based on your energy.
Route strategy: handle the “high-pressure zones” first
The Tower is a time-and-energy heavy site. If the goal is an efficient visit in around 3 hours, your route should be dictated by queue pressure and crowd flow, not by simple map distance.
- First priority: the Crown Jewels
- This is the highest-pressure area in the entire Tower. Queues and crowding set the pace for everything else.
- Go straight to the Jewel House at opening, before tour groups flood in.
- Second core: the White Tower & Royal Armouries
- After the jewels, go straight into the White Tower.
- The Royal Armouries displays here include armour and weapons across reigns, and it’s one of the densest information areas on the site.
- For a light-but-proper look, allow at least 45 minutes; if you like military objects and detail, an hour is easy.
- Third layer: execution ground and prisoner towers
- Once the two headline sections are done, use whatever time you have left based on energy and interest, head to Tower Green, and go into the Beauchamp Tower.
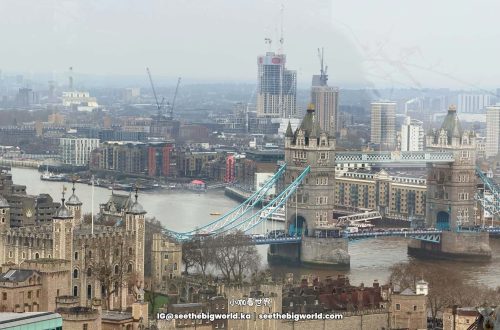
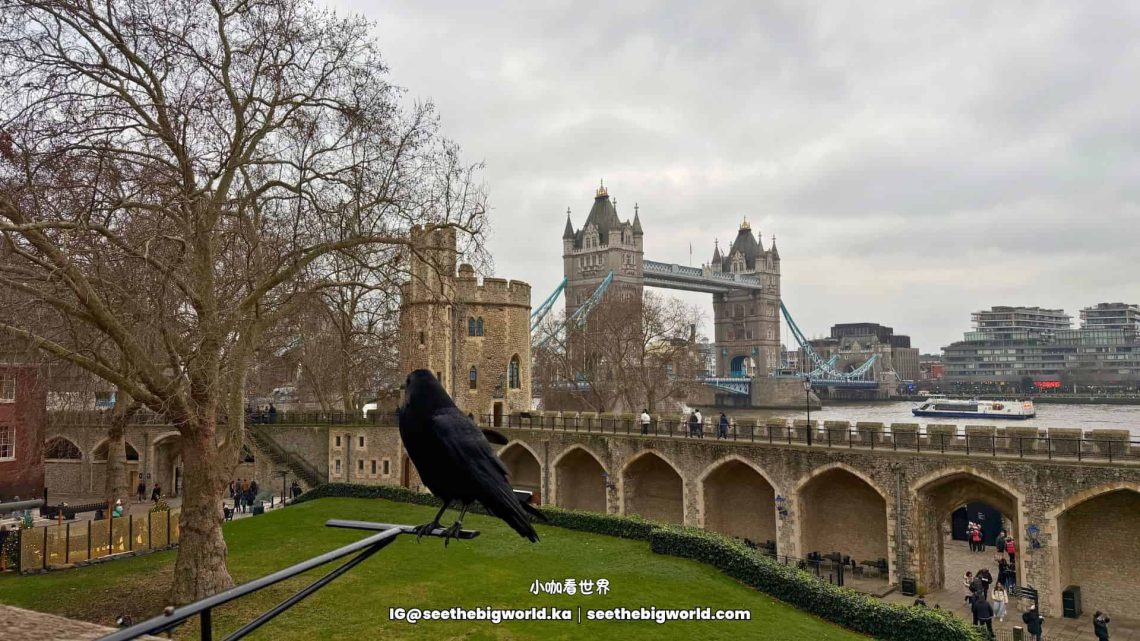
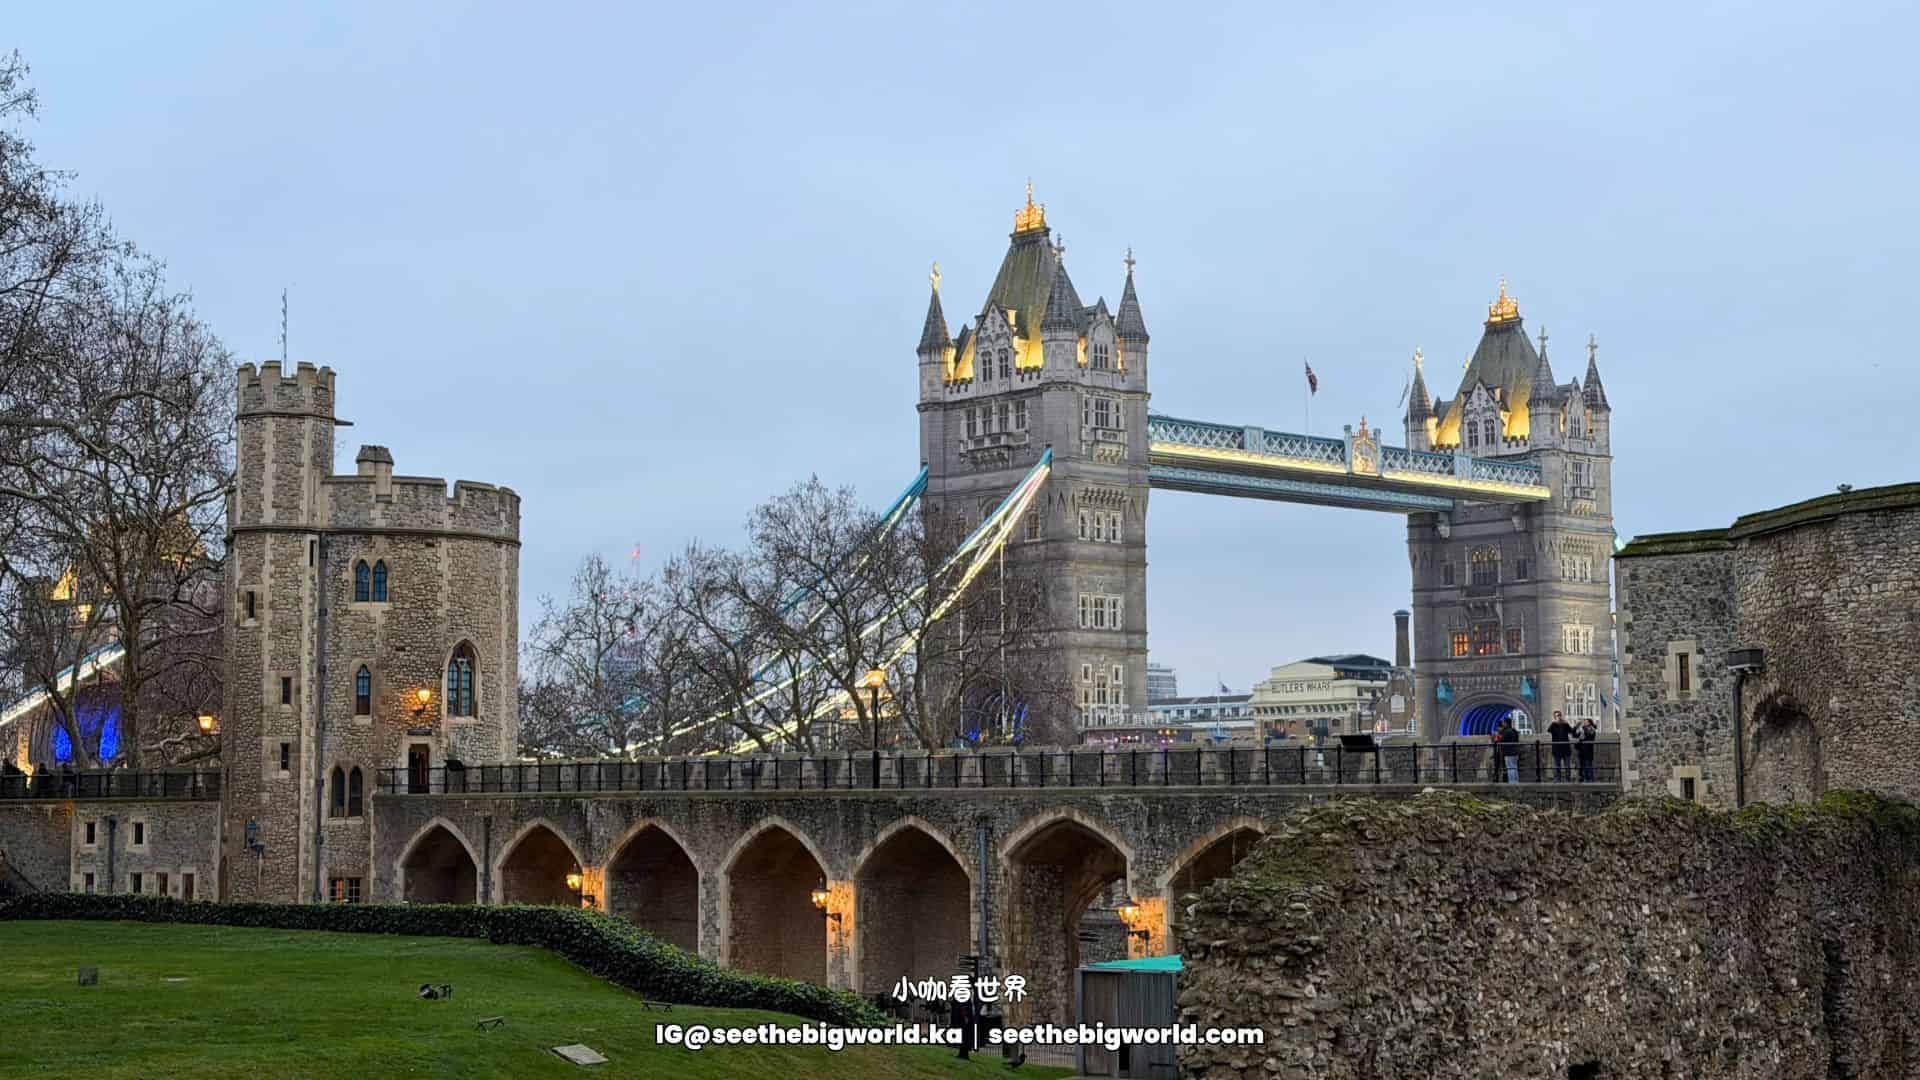
- The battlements walk is also worth doing: you get a higher viewpoint over the Thames and Tower Bridge, and it’s a great place to take photos and properly catch your breath.
Real-world timing: the rare quiet window
- A rare gap: I once went just before Christmas (23 December) and walked in with near “straight through” ease.
- It’s a specific holiday window: when most people are doing traditional seasonal activities, this major tourist site can briefly drop into a crowd vacuum.
- This doesn’t mean all of December is quiet. Avoid the general Christmas market peak.
- Everyday warning: as a rule, avoid 11:00–14:00. That’s when tour groups, families, and school programmes overlap most heavily.
Read More
Passes:London Pass|BritRail Pass|Euro Train Pass
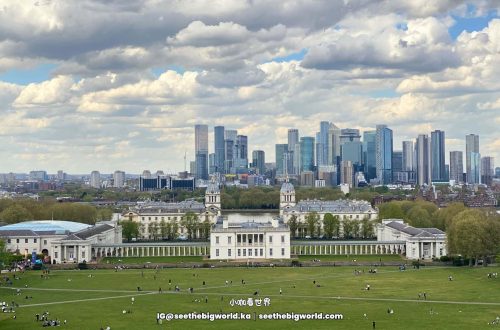
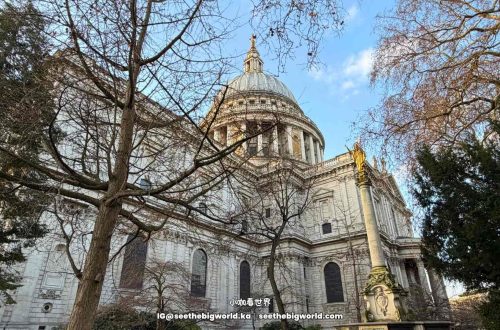
London Articles:London Travel Guide|London Pass Guide|London Itinerary|London for Seniors|London Transportation Guide|Top Things to Do in London|Buckingham Palace Changing of the Guard|Westminster Abbey|St Paul's Cathedral|Tower of London|Day Trip to Greenwich|Harrods|West End Musicals|London Skyline
Other UK Cities:Cities Near London|Liverpool Guide